Over the past year I have been preparing for a new chapter in my life as an artist/maker. The new project, driven largely by a need to get back into the studio full time, is an unapologetically commercial venture. Interfacing with the growing movement of legalization of weed in the US I am launching a bong/smoking accessory company called Bong Monsters.
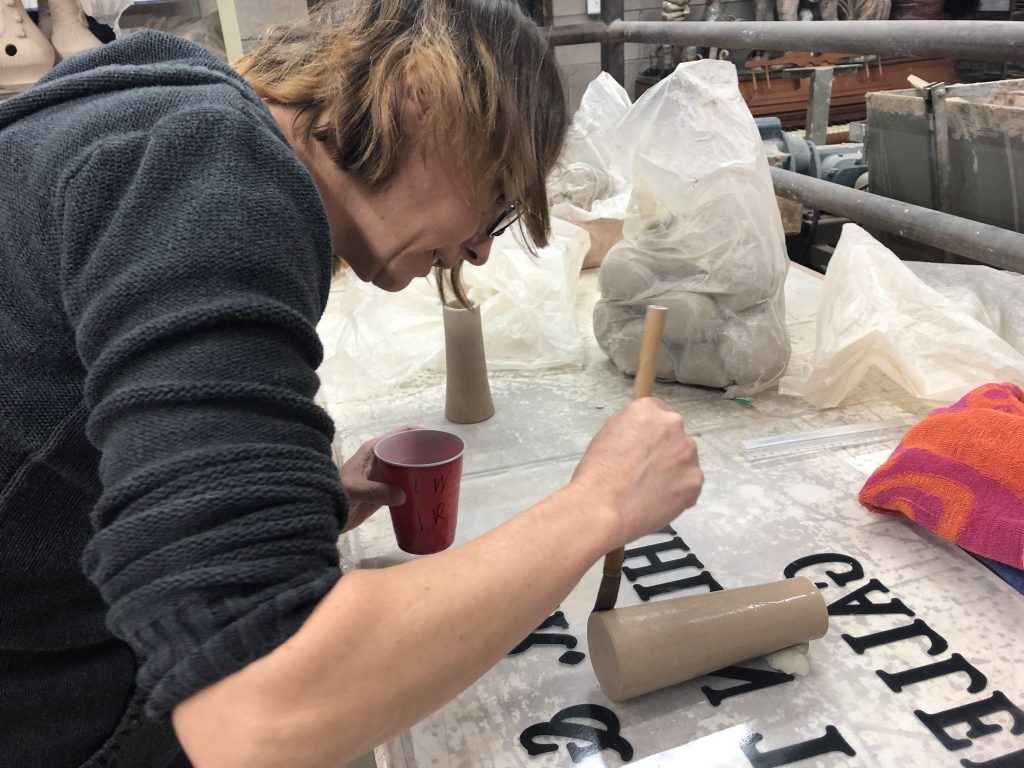
The initial phase of the project focuses on slip cast doll parts for the creation of the objects. The problem with this is my limited experience in slip casting. While I have worked with the technique in grad school it’s never been my specialty. In addition to reading and watching videos on the subject I decided to have my friend from school come down and run me through the basics again.
April Cannon, who lives in Denver, completed her MFA in 2017 from Fort Hays State University. In addition to several private commissions she is represented by Mai Wyn Fine Art gallery in Denver https://www.maiwyn.com. You can see more examples of her wonderful work at www.aprilnoble.net
I’ve made many molds before but it’s an incredibly demanding skill that I have never been completely comfortable with. Choosing a slip cast driven project then was either a poor decision or an opportunity to learn new skills. I’ve opted for the latter, which is why in part it is taking so long to really get the project moving.
April coming down to help this month has been a huge step toward competence in this area. When I first considered this idea I was focused on where I needed to be rather than where I actually was, if that makes any sense? I wanted to work out multi part mold construction and various material techniques but on further reflection I decided what I needed most was a stable foundation to build on, so opted to have her demonstrate the most basic two part mold.
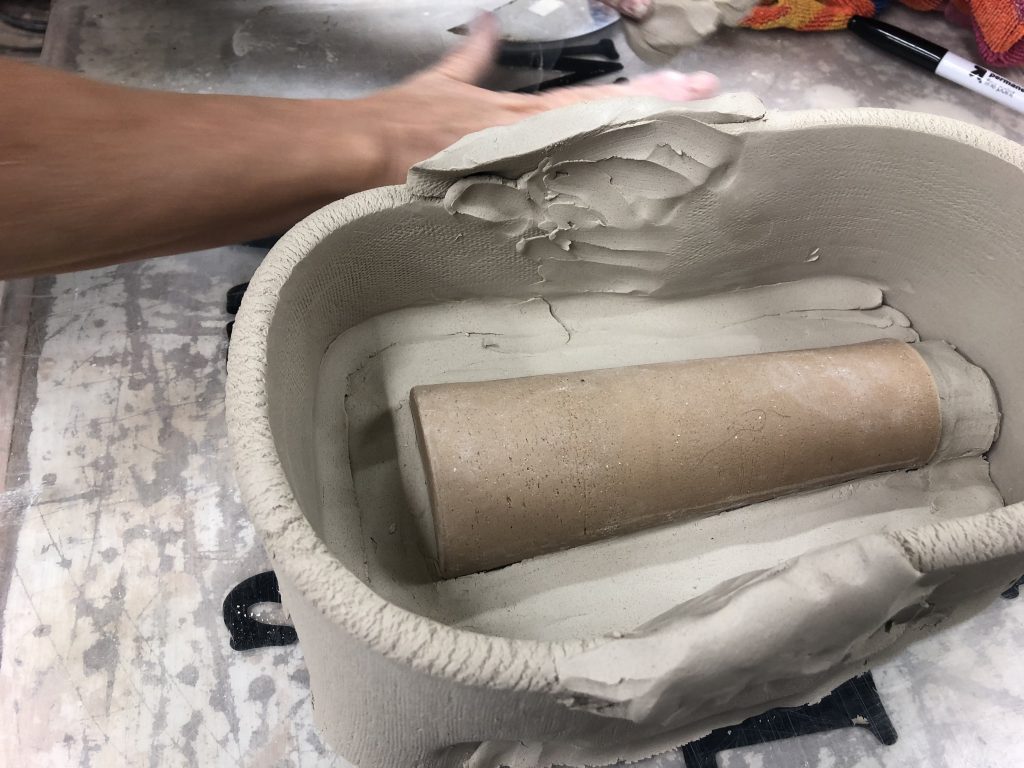
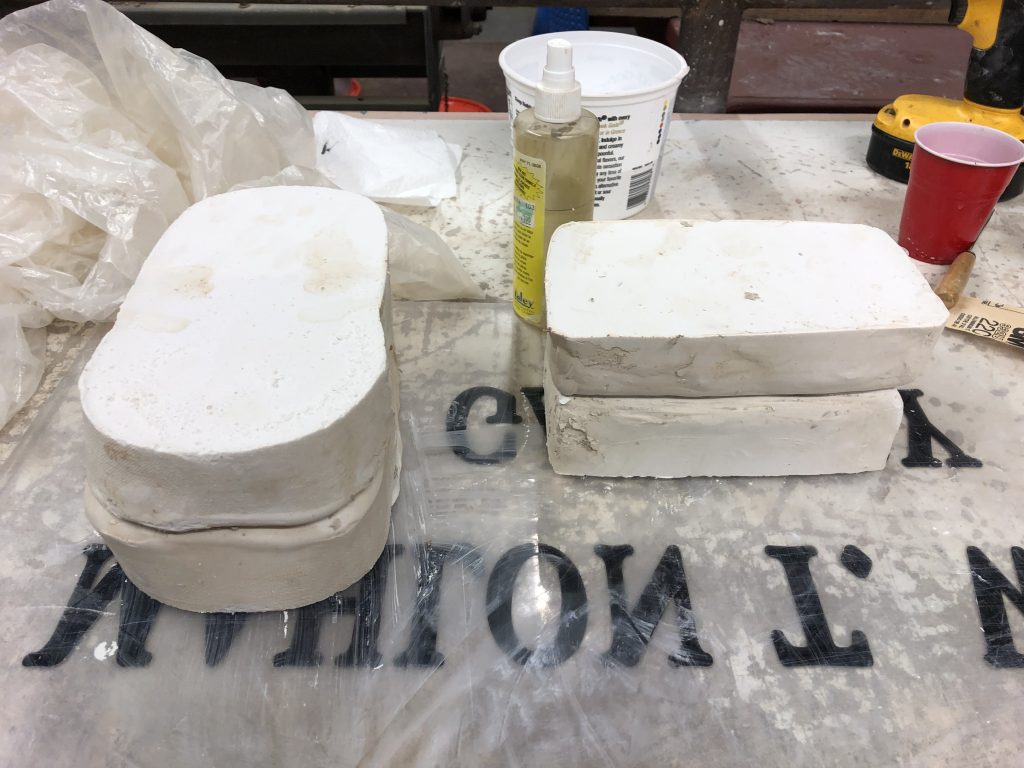
I threw some bong necks for the purpose, which is the part I most urgently need to start prototyping, and we worked with those. While the pieces we used as models were leather hard clay, April recommends either soft bisquing models to cone 014-012 or reductively sculpting the model from a solid block of plaster.
Before I start a description of the day, here is the tool list:
April’s List of Essential Tools: wet-dry sand paper, drywall sanding screens, cabinet scraper for scraping plaster to get a flat edge, misc. files for shaping plaster, surforms for carving and shaping plaster, wire brush to clean the files and surforms, WD40 to protect steel tools from rust after cleaning, clay shaping tools for claying up the model, wooden knives for cutting and scraping the plasticine on the edges of cottle boards, soft wax based plasticine for filling gaps, level, spring loaded clamps to hold the cottle boards in place while they are positioned, screw down clamps for use while constructing the mold, metal spoon for carving keys, cheap brush for mold soap, small sponges, dust mask, graduated buckets for mixing plaster, measuring cups for water, large square for laying out cottle boards, small square for checking midline, non-stick surface for working like plexiglass, melamine or granite, a good ruler
Here is April getting started with the model. She recommends applying, then wiping off, 3 coats of mold soap. Here we used Murphy’s Oil Soap, but Dr Brauner’s Pure Castile Soap works too and can be selected without scent. Mold soap is diluted to one part soap and one part water.
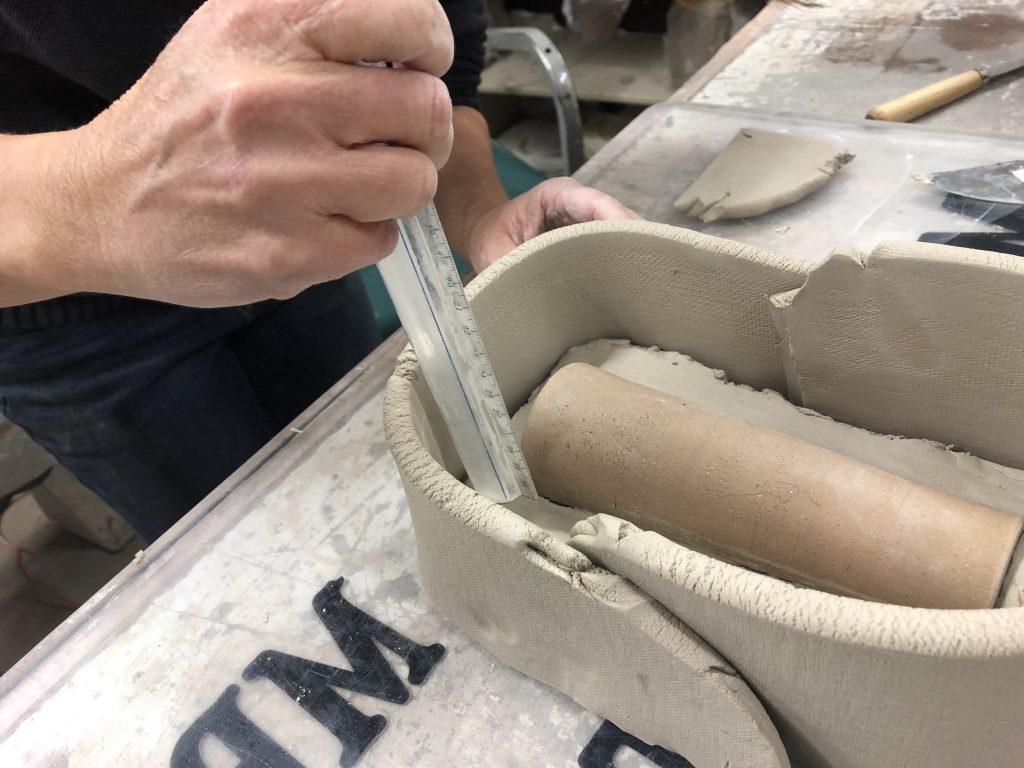
Finding the dividing line is one of the most important parts of making multi-part molds. The principle on a simple object like this is to divide the object in half using the widest point in circumference. On more complex forms the principal is the same, following the variable line dividing the object to avoid undercutting so the mold may be lifted cleanly from the cast object. April recommends looking at toys for an understanding of multipart mold construction as the dividing lines are often discernible on the object.
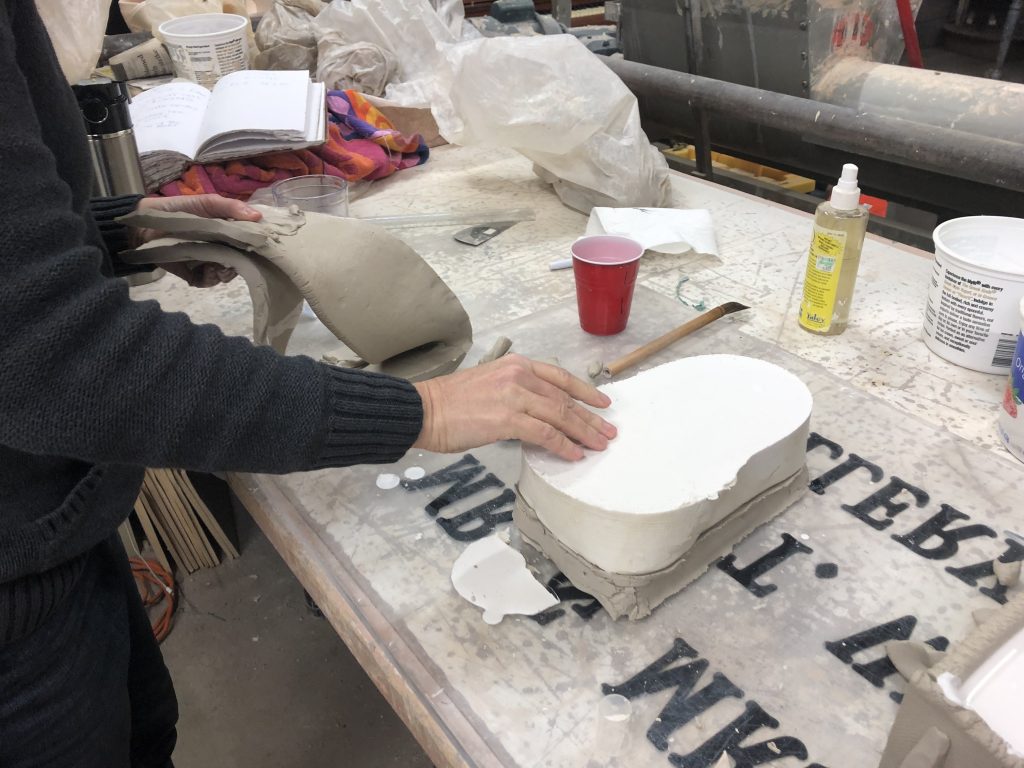
Once this step is complete, it’s time to clay up the bottom half of the model so the top half can be cast in plaster.
The model is immersed in clay up to the dividing line and then walls are built around the entire construction to contain the plaster. Normally cottle boards would be used, but mine were unavailable so we made due by building clay walls. All gaps were filled and the area was leveled and cleaned in preparation for the plaster. April recommends working with plasticine for filling in most gaps when using cottle boards as it will not dry out and can increase working time.
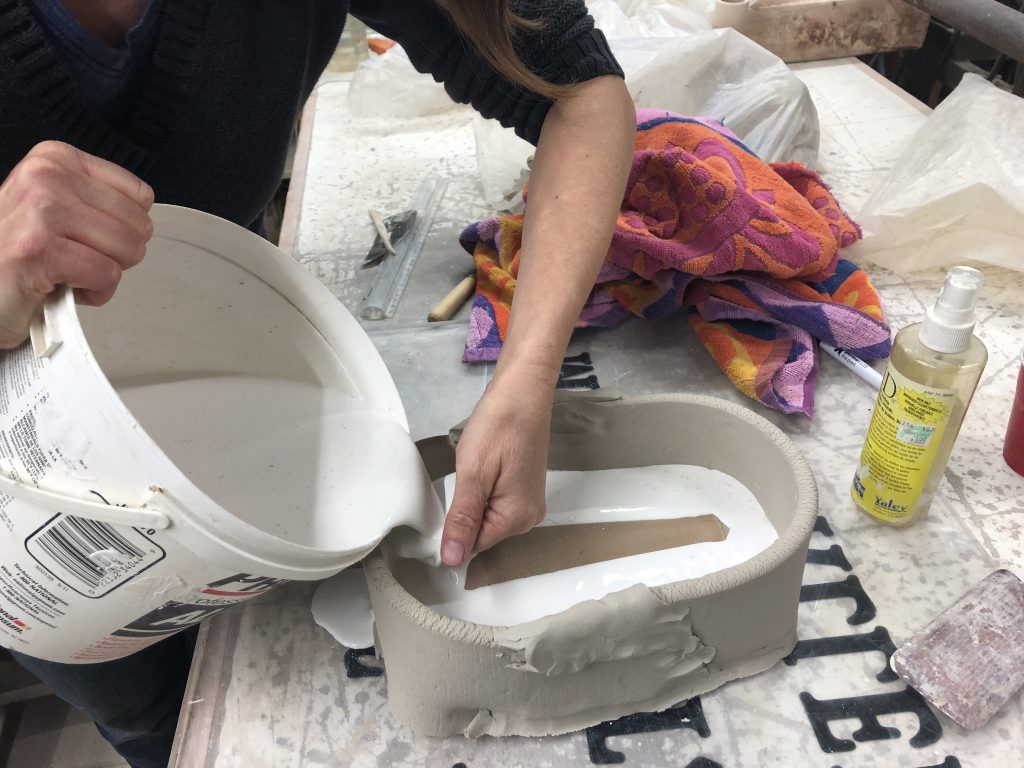
Calculating for the amount of plaster needed is a simple matter of multiplying L” x W” x H” of the area to be filled and dividing that number by 80. That will break the calculation into quarts. Rather than using a pre-determined formula for the plaster April uses the island method, putting the prescribed amount of water into a bucket and then slowly adding plaster until an island of the material remains above the water line. Once the prescribed amount of plaster is added, the mixture is allowed to hydrate for a few minutes and the mixed by hand. Other methods for mixing can be used but care should be taken not to add air bubbles that can cause problems on the surface of the object to be cast. Once mixed the plaster is allowed to sit another few minutes while agitating the bucket to remove more air bubbles.
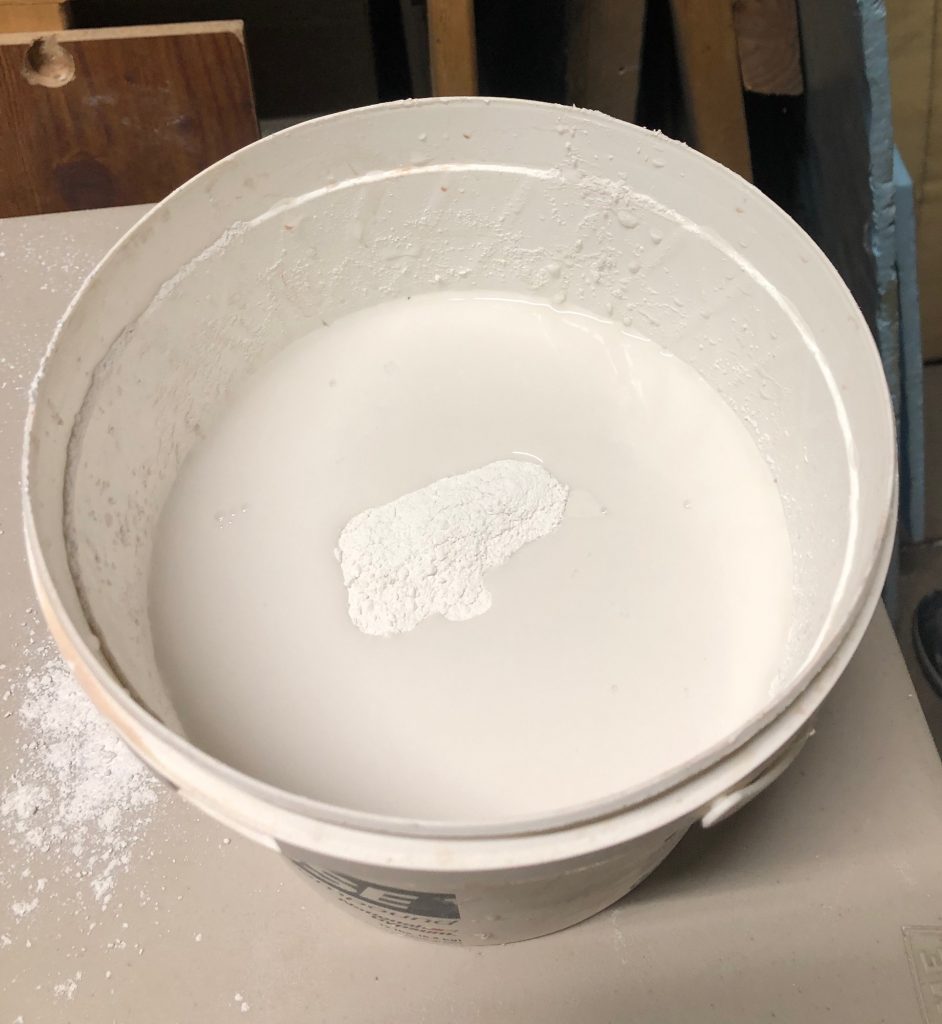
Setting times for plaster vary depending on the temperature of the water used in mixing. As the water in the studio is a ground spigot we waited nearly 45 minutes to break away the clay and reveal the first section.
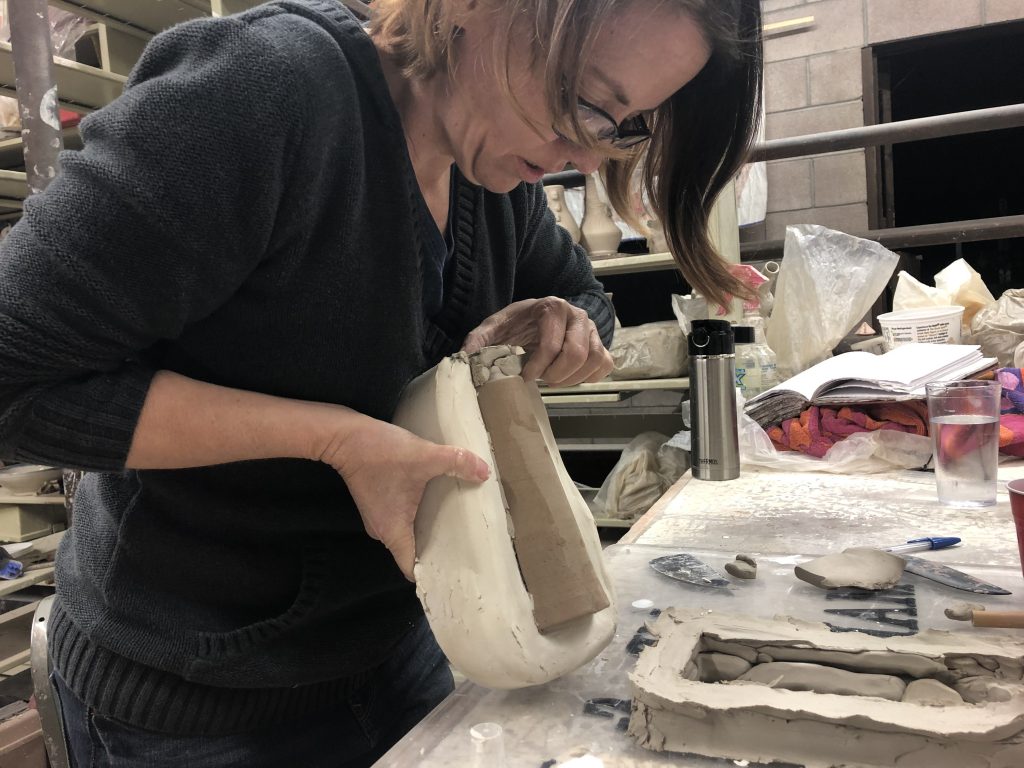
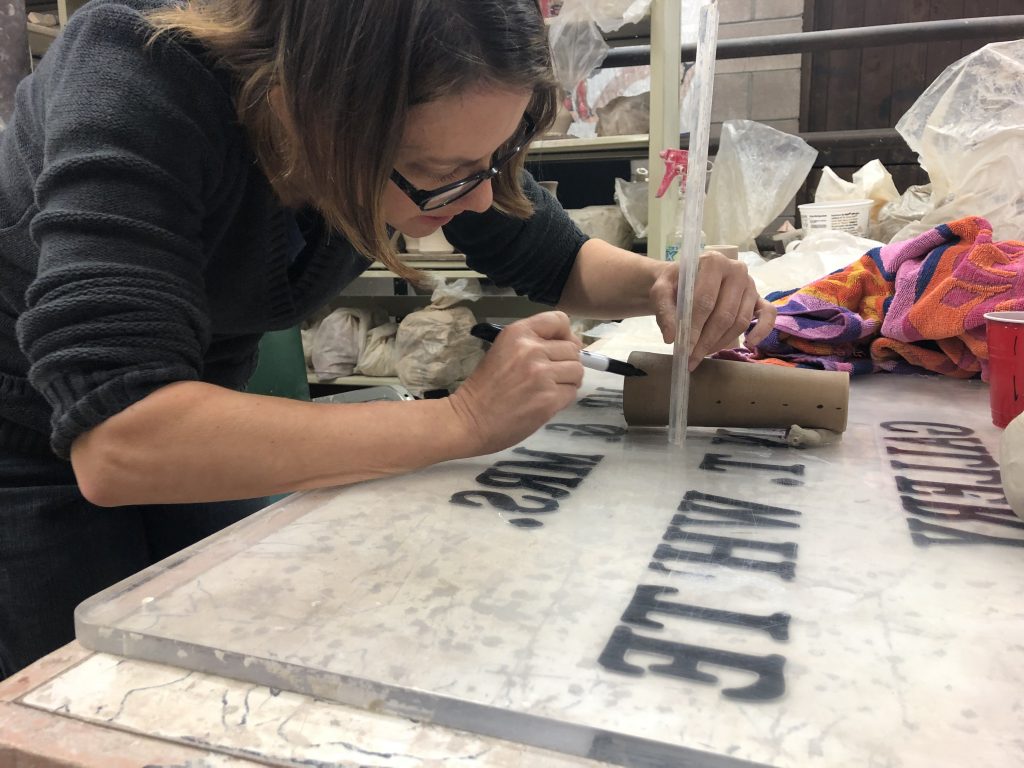
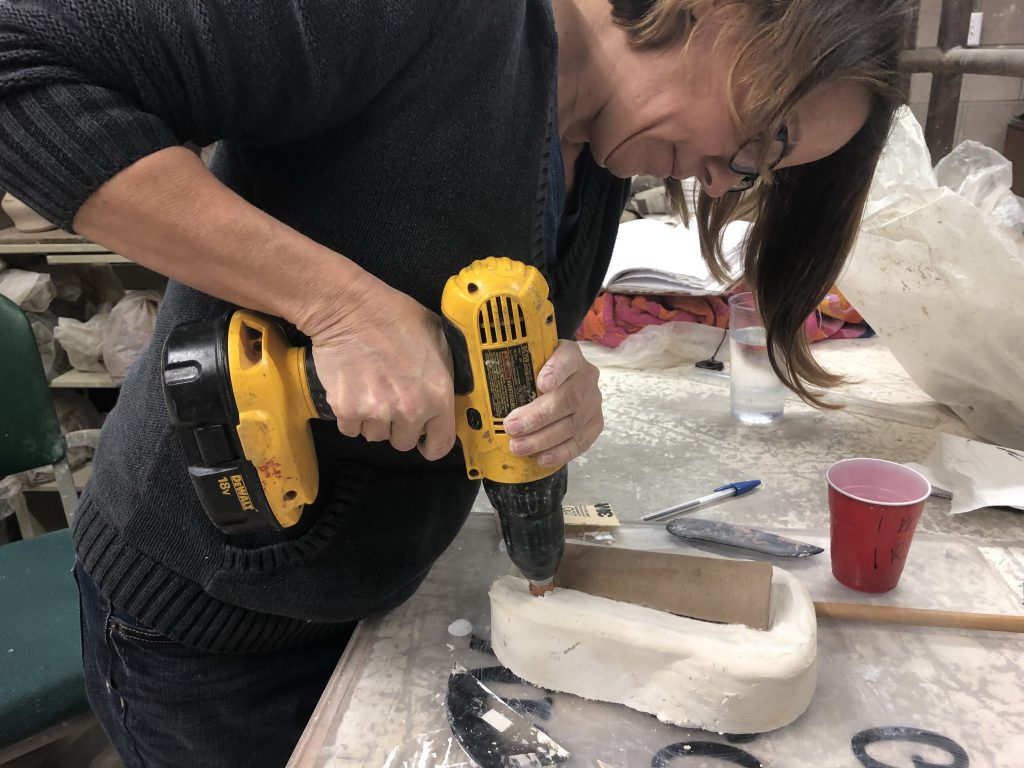
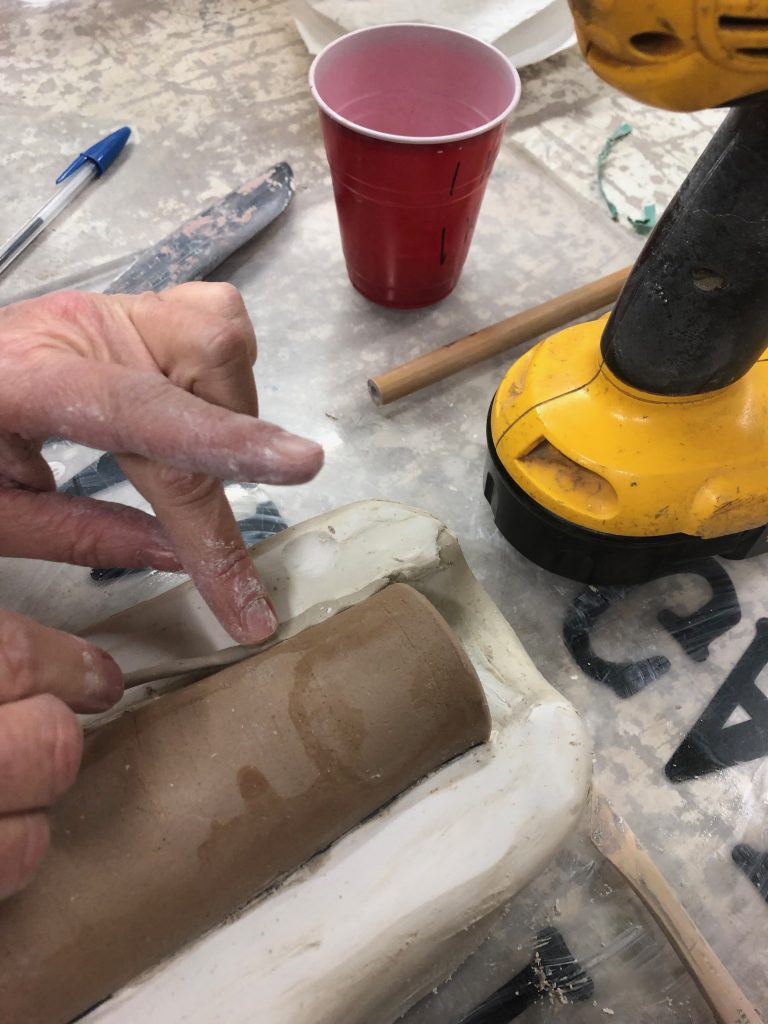
Once freed from the clay and walls the object was prepared for the second half of the mold. If the master had been bisque, she would have removed it from the mold and thoroughly cleaned and leveled the top of this portion for a more perfect fit. Because the model was green she opted to leave it in place and clean around it. Once clean, it was prepared for the second half of the plaster, including cutting the keys with a penny and filling gaps.

Before adding plaster, the water resistance of the model was considered, first with a final coat of soap and then an overall spray of mold release.
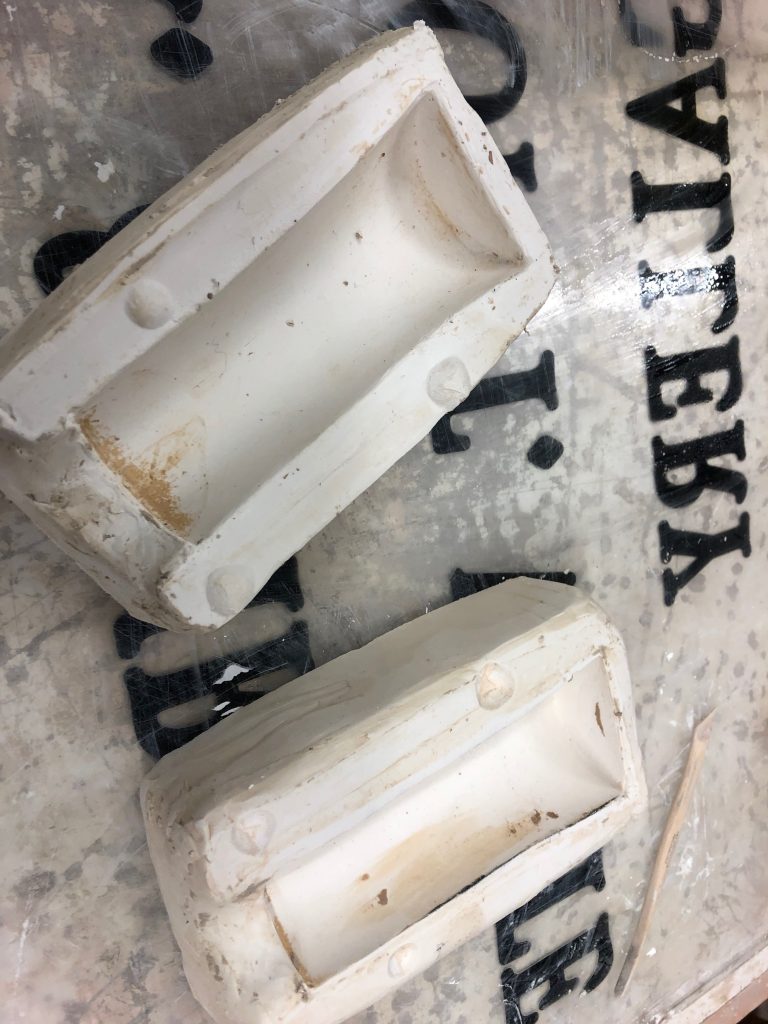
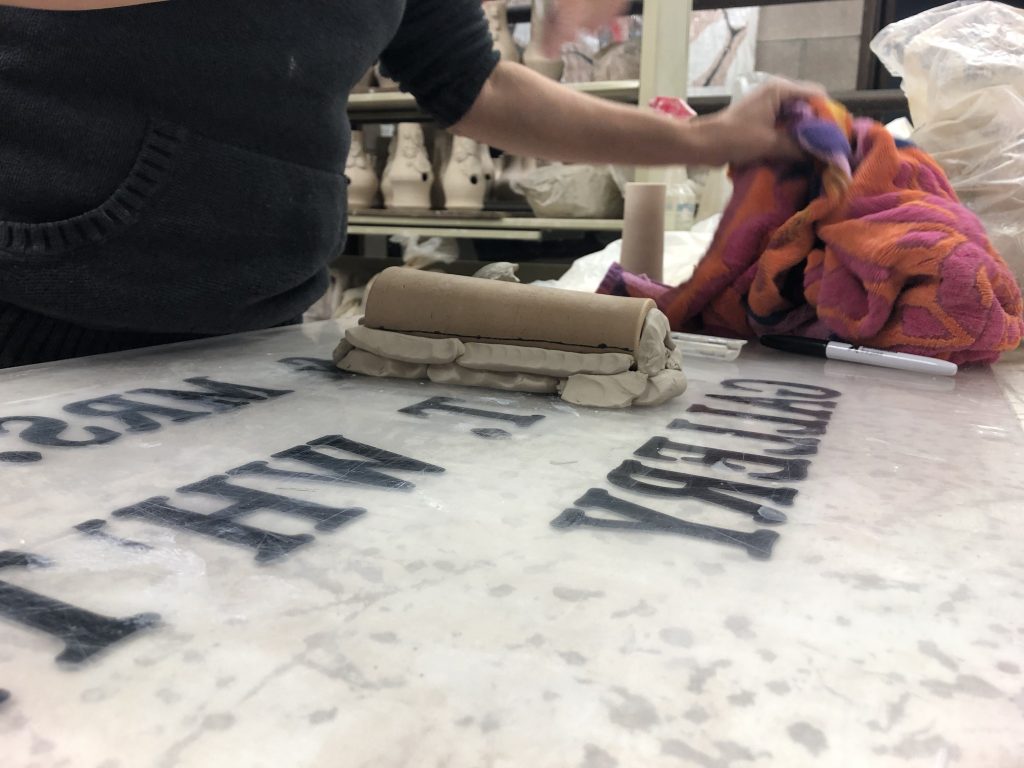
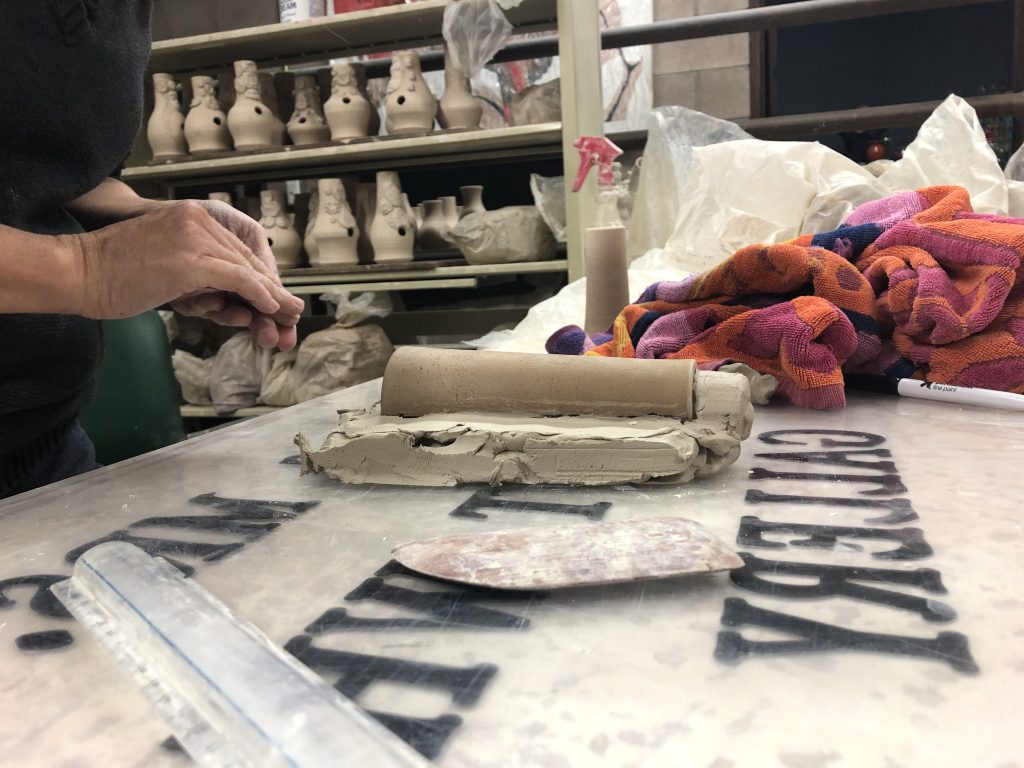
Without the cottle boards they will need quite a bit of reshaping as well as thorough cleaning to remove the mold soap and curing of the paster before a test cast can be made. If they turn out well the next step will be making mother molds from these masters for the production of working molds.
Thank you April! Such a productive and informative day!